Understanding the need for an NES replacement shell
Why NES Owners Consider Replacing the Shell
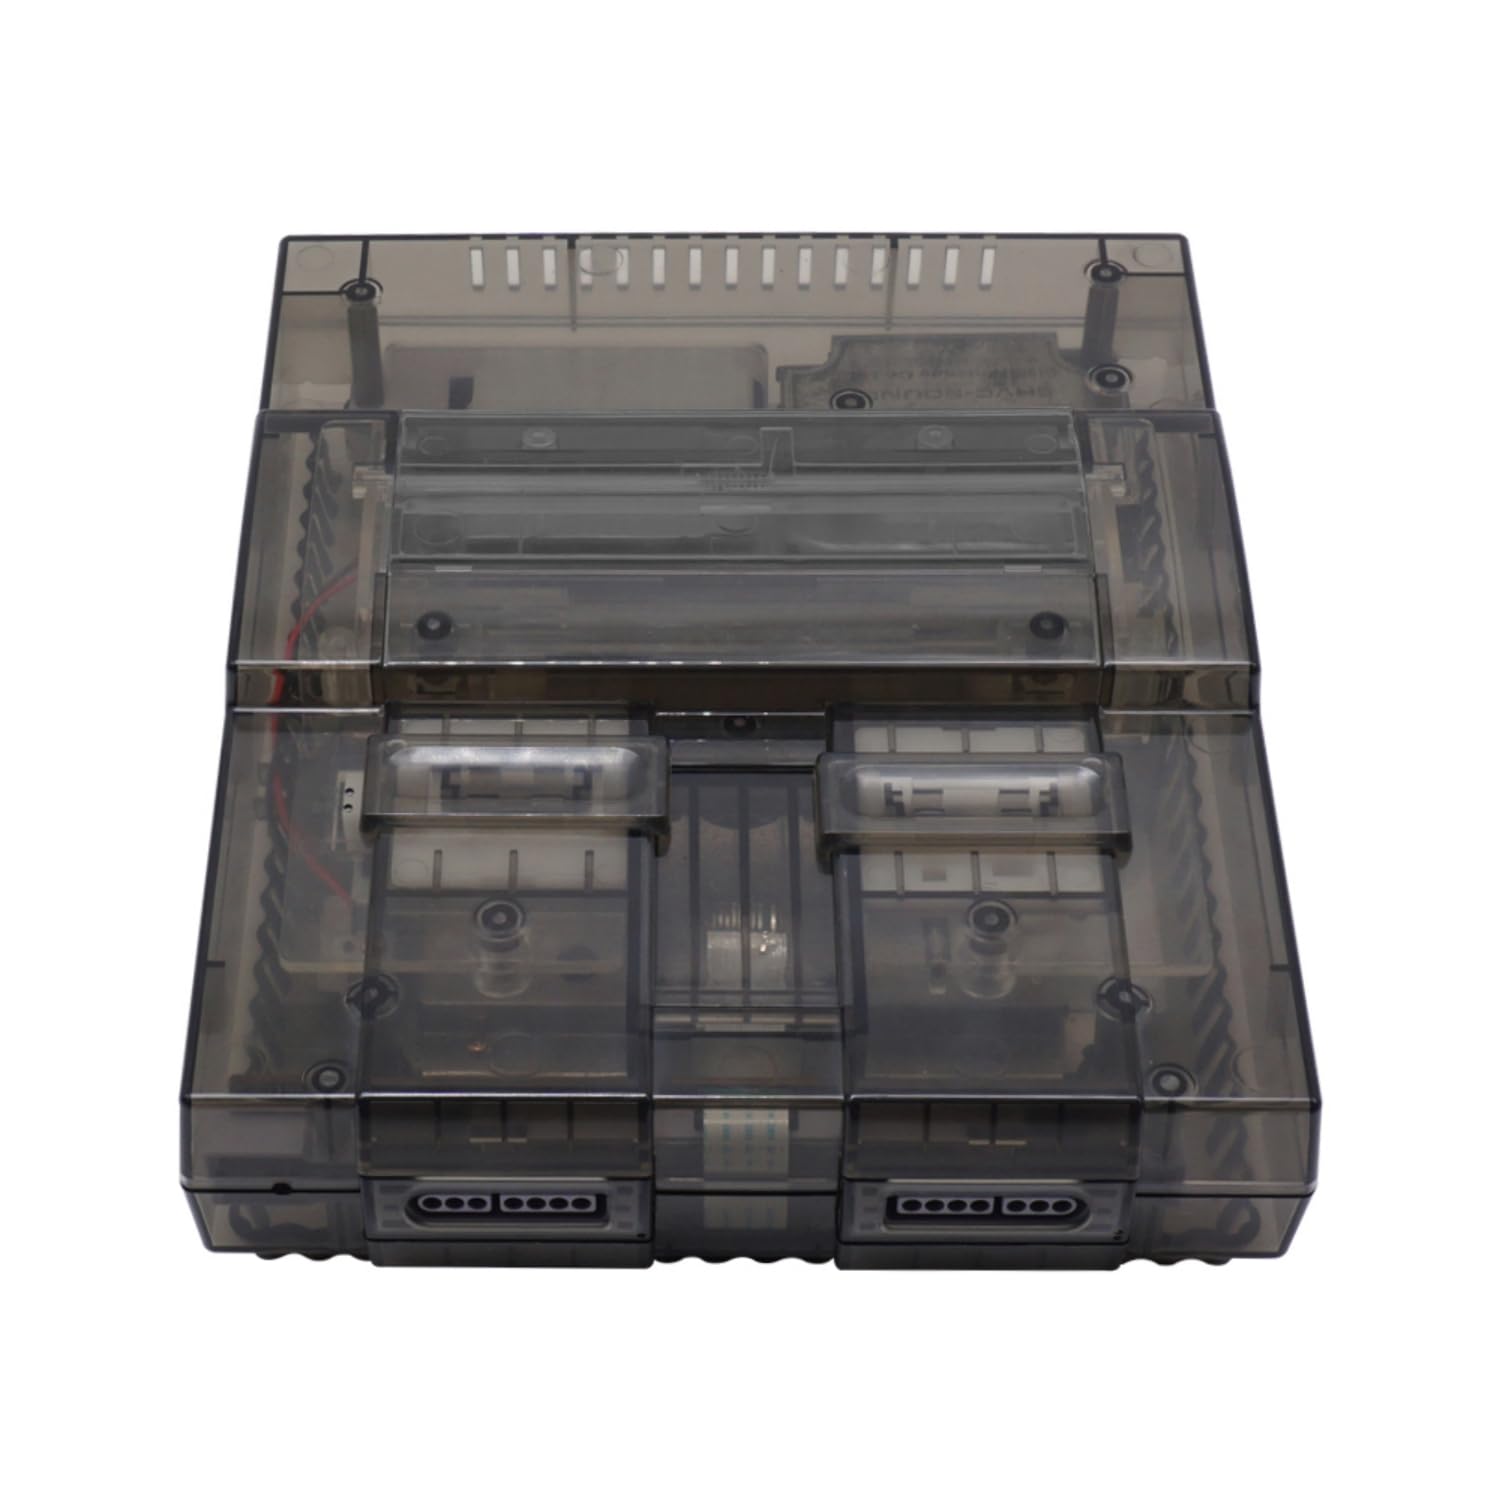
The Nintendo NES console is a classic in the world of retro game hardware. Over the years, many original NES units have suffered from yellowing, cracks, or broken parts due to age and heavy use. If you want to restore your NES to its former glory, a replacement shell is often the best solution. Whether you’re aiming for a full game restore or just want your console to look as good as it did out of the box, swapping the housing shell can make a huge difference.
- Physical damage: The original OEM plastic can become brittle, leading to broken flip top lids, expansion port covers, or even missing buttons.
- Cosmetic upgrades: Some owners want a clear or custom-colored shell to personalize their NES console, making it stand out in their retro game collection.
- Functionality: A new shell can help with issues like loose cartridge slots or misaligned screen lens covers, which can affect gameplay.
Finding the right replacement shell is important for both collectors and gamers. Not all shells are created equal—some are close to the original, while others offer modern improvements or unique designs. You’ll also want to consider the availability of replacement parts, such as the top bottom housing, buttons, and expansion port covers, to ensure a complete restoration.
For those interested in restoring other classic consoles, you might find this guide on everything you need to know about the Game Boy Advance box helpful as well.
As you explore your options, keep in mind factors like price, shipping (including free shipping offers), and whether the shell is branded as OEM or aftermarket. The next sections will help you compare the best replacement shells, understand what to look for in terms of quality and fit, and walk you through the installation process step by step.
Key factors to consider before buying a replacement shell
What to Look for in a Quality NES Shell Replacement
Choosing the best NES replacement shell for your console is about more than just looks. The right shell protects your Nintendo NES, keeps your games running smoothly, and can even add a personal touch to your retro game setup. Here are the main factors to consider before making your purchase:
- Material and Build Quality: Look for shells made from durable ABS plastic, similar to the original OEM housing shell. A sturdy shell ensures your NES console is protected from bumps and drops, and helps your replacement last for years.
- Fit and Compatibility: Make sure the replacement shell is designed for your specific NES model. Some shells are only compatible with the original Nintendo NES, while others fit clone or third-party systems. Check if the shell includes all necessary replacement parts, like the flip top, expansion port cover, and bottom shell.
- Finish and Color Options: Many brands offer clear, black, or even custom colors. Decide if you want a classic look or something unique. Some shells come with free screen lens or buttons, which can help restore your NES to its original appearance or give it a fresh style.
- Price and Shipping: Compare the price in USD across different sellers. Some offer free shipping, which can make a big difference if you’re ordering from overseas. Don’t forget to factor in shipping times and return policies.
- Brand Reputation: Stick with top brands or sellers known for quality NES replacement shells. Check reviews and look for recommendations in retro game communities. Reliable brands are more likely to provide accurate fitment and better customer support.
- Included Parts: Some shells come as a full set, including top, bottom, and all necessary screws and buttons. Others may require you to reuse original parts Nintendo provided with your console. Double-check what’s included so you’re not left searching for extra replacement parts.
- Customization Potential: If you’re interested in modding or enhancing your NES, look for shells that support extra features, like cartridge slot mods or LED lighting. For more ideas on console mods, you can check out this guide on how to enhance your PlayStation 2 experience with console mods—many of the same principles apply to NES customization.
Taking the time to consider these factors will help you find the right NES shell replacement, whether you’re restoring an original console or building a custom retro game setup. Don’t forget to check the next sections for where to buy reliable shells and step-by-step installation tips.
Where to find reliable NES replacement shells
Trusted sources for NES replacement shells
When searching for a replacement shell for your NES console, it’s important to prioritize reliability and quality. The market offers a wide range of options, from original OEM parts to modern reproductions and custom designs. Here’s how you can find the best sources for your NES replacement shell:
- Specialized retro gaming stores: These shops often stock NES replacement shells, including clear and flip top designs. They usually offer both original and reproduction parts, and their staff can help you match the right shell to your specific NES model.
- Online marketplaces: Platforms like eBay and Amazon feature a variety of NES shell options, including top and bottom shell sets, replacement buttons, and expansion port covers. Always check seller ratings and reviews to ensure authenticity and quality.
- Dedicated modding websites: Many sites focus on retro game restoration and offer housing shell kits for the NES, Game Boy, and other Nintendo consoles. These often include free shipping or bundle deals, making them cost-effective for larger projects.
- Community forums and groups: Retro gaming communities can be a valuable resource for finding trusted sellers, advice on replacement parts, and even pre-owned original OEM shells at competitive price USD points.
| Source | Shell Types | Shipping | Price Range (USD) |
|---|---|---|---|
| Retro Gaming Stores | OEM, Clear, Custom | Varies, some free | 30-80 |
| Online Marketplaces | OEM, Reproduction | Global, often free | 25-70 |
| Modding Websites | Custom, Clear, Flip Top | Free shipping on bundles | 35-90 |
| Community Forums | Pre-owned, OEM | Negotiable | 20-60 |
Before you buy, compare the price, shipping options, and included replacement parts like screen lens, cartridge doors, and expansion port covers. Some sellers offer free shipping or discounts on bulk orders, which is helpful if you’re restoring multiple NES consoles or other Nintendo devices like the Game Boy.
For a practical example of sourcing and installing retro console parts, check out this guide to capturing output from your Game Boy Color. It covers similar steps in finding reliable parts and ensuring compatibility, which can be applied to your NES shell replacement project.
Always prioritize trusted brands and sellers to avoid low-quality shells that may not fit properly or could damage your NES console. Look for detailed product descriptions, clear photos, and customer support to ensure you’re getting the best replacement shell for your needs.
Step-by-step guide to installing your new NES shell
Preparing Your NES Console and Workspace
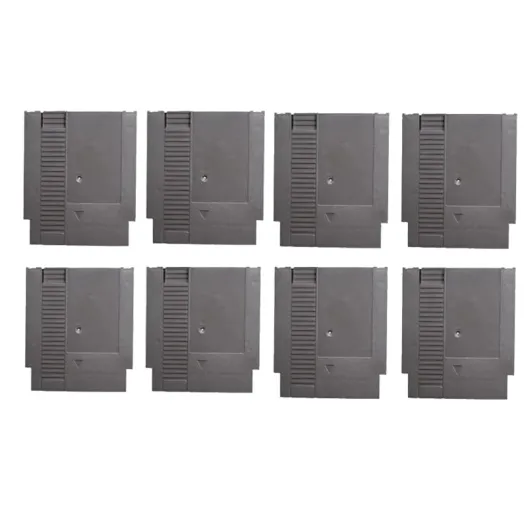
Before you start, make sure your NES console is unplugged and free of any game cartridges. Gather all necessary replacement parts, including your new NES replacement shell, screwdrivers, and any additional components like buttons or screen lens if you plan to swap those as well. A clean, static-free workspace will help prevent damage to your console and parts.
Disassembling the Original NES Shell
- Remove all screws from the bottom shell using a Phillips screwdriver. Keep the screws organized for reassembly.
- Gently lift the top shell off. If your NES has never been opened, you might need to apply a bit of pressure, but avoid forcing it to prevent cracking the original OEM housing shell.
- Disconnect the expansion port cover and any internal cables attached to the shell. Take note of how the parts are connected for easier reassembly.
Transferring Internal Components
Carefully remove the motherboard, cartridge slot, and other internal parts from the original shell. Inspect each component for dust or damage. This is a good opportunity to clean or replace any worn parts Nintendo included in the original design. Place the components into the new replacement shell, making sure everything aligns with the mounting points and screw holes.
Installing the New Shell
- Position the motherboard and other internal parts inside the bottom shell of your new NES replacement.
- Secure all components with the original screws. If your replacement shell came with new screws or parts, compare their quality and fit before using them.
- Attach the top shell, ensuring the flip top mechanism works smoothly and the buttons align correctly with the housing shell.
- Reconnect the expansion port cover and any other external parts, such as the screen lens or cartridge door.
Testing and Final Adjustments
Once your NES console is reassembled, plug it in and test with a game cartridge. Check that all buttons respond, the cartridge slot works, and the console powers on. If you notice any issues, such as misaligned buttons or a loose bottom shell, open the console and adjust as needed. Sometimes, aftermarket replacement shells require minor tweaks for the best fit, especially if you opted for a clear or custom design.
Taking your time during installation helps ensure your NES shell replacement not only looks great but also functions as intended, preserving your retro game experience for years to come.
Customization options for your NES replacement shell
Personalizing Your NES Console’s Look
Once you’ve selected a replacement shell for your Nintendo NES, you might want to make your console stand out. Customization options can help your NES reflect your personality or match your retro game setup. Here are some popular ways to personalize your NES replacement shell:
- Color Choices: Many replacement shells come in classic gray, but you can also find clear, black, and even vibrant colors. Clear shells are popular for showing off internal parts and giving your console a modern twist.
- Custom Decals and Stickers: Add retro game decals, logos, or themed stickers to the top or bottom shell. This is an easy way to pay homage to your favorite games or give your NES a unique look.
- Button and Cartridge Slot Upgrades: Swap out original or OEM buttons for colored or textured versions. Some replacement parts kits include new power and reset buttons, or even a flip top for easier cartridge access.
- Expansion Port Covers: If your replacement shell includes an expansion port, consider adding a custom cover or painting it to match the rest of your housing shell.
- Screen Lens and LED Mods: While less common for the NES than for handhelds like the Game Boy, some enthusiasts add colored LED lights or swap the screen lens for a different look.
Balancing Style and Authenticity
When customizing, consider whether you want to keep your NES console close to its original OEM appearance or go for a bold, modern style. Some collectors prefer authentic colors and parts Nintendo originally used, while others enjoy experimenting with new materials and finishes.
Always check that any replacement shell or parts are compatible with your NES model. Some shells are designed for the top loader, while others fit the classic front loader. Price can vary depending on the brand, features, and whether you’re buying a full housing shell or just specific replacement parts. Free shipping options are often available, but check the seller’s policy to avoid surprises at checkout.
Tips for the Best Customization Experience
- Test fit all parts before final assembly to ensure everything lines up, especially if mixing original and replacement components.
- Use high-quality tools to avoid damaging your new shell or NES console during installation.
- Document your process with photos or video if you plan to share your game restore project online.
Whether you want a nostalgic look or a modern twist, customizing your NES replacement shell is a great way to breathe new life into your classic console.
Common issues and troubleshooting during shell replacement
Troubleshooting Fit and Alignment Problems
One of the most common challenges when replacing your NES shell is ensuring all parts fit together as intended. If the top and bottom shell sections do not align, double-check that you are using the correct replacement shell for your specific NES console model. Some aftermarket shells may have slight differences from the original OEM design, especially around the expansion port or cartridge slot. Carefully inspect all mounting points and compare them with your original housing shell before proceeding further.
Button and Cartridge Slot Issues
After installing a new shell, you might notice that the power or reset buttons feel stiff, or the cartridge does not insert smoothly. This can happen if the internal parts nintendo components are not seated properly or if the replacement shell’s tolerances differ from the original. Gently adjust the button assemblies and ensure the cartridge slot is free of obstructions. If you’re using a clear or flip top shell, check that the moving parts have enough clearance to operate without sticking.
Dealing with Missing or Damaged Replacement Parts
Sometimes, replacement shells do not include all necessary screws or small replacement parts. If you find yourself missing a screen lens, screws, or other essentials, look for NES replacement parts from reputable brands or suppliers that offer free shipping. Using original OEM or top-rated aftermarket components can help maintain the integrity of your NES console and avoid future issues.
Addressing Cosmetic Imperfections
Minor scratches or blemishes can occur during shipping or installation. If your new NES shell arrives with cosmetic flaws, contact the seller promptly to discuss a replacement or partial refund. For small marks, a gentle cleaning with a soft cloth may help. Remember, the best replacement shells are packaged securely to minimize damage during transit, but it’s always wise to inspect your order upon arrival.
Ensuring Proper Reassembly
Reassembling your NES console after a shell replacement can be tricky. Double-check that all internal components, such as the motherboard and expansion port, are securely fastened before closing the shell. If the console does not power on or the game cartridge is not recognized, reopen the housing shell and verify all connections. Watching a video guide or referring to detailed step-by-step instructions can be helpful if you encounter difficulties.
- Always use the correct screwdriver to avoid stripping screws.
- Keep track of all small parts during disassembly and reassembly.
- If you’re unsure about any step, consult a retro game restoration forum for advice.